Okay, so the first thing we want to do when we're assembling the arch is to select the correct crossbar. Bear in mind that there are two different sizes, or in some cases, three different sizes. So make sure you have the correct one. Next, simply put in the end connectors. You might have to tap them with a hammer or a soft mallet. At this time, the other crossbars will be slightly shorter. We need to put the expanding connectors into each end and do that multiple times. These connectors just slot in very simply and they fit snugly. If they are a bit tight, you can tap them in with a soft mallet. The next stage is to assemble the top of the arch with these two hoop pieces. Insert the crosspiece into the designated area and simply press it down. It can be tapped in with a soft mallet if needed. Now, let's put the crossbars in that we put the connectors in earlier. You can simply tighten them finger tight for now. We'll go around and lock the connectors with the allen key afterward. Use the allen key and turn the screw to lock the connectors in place. They expand and lock into the end of the bar. Now, it's a simple process of putting the rest of the bars in place. All the crossbars should be in place now, and I've just tightened up all the bolts to ensure the connectors are locked in. We're now ready to move on to the next stage. We've just started to assemble the upright sections. It's always easier with another pair of hands. The upright we're assembling here is for a surface mount design. If you've bought an inground design, then you'll have a further 40 centimeters on...
Award-winning PDF software


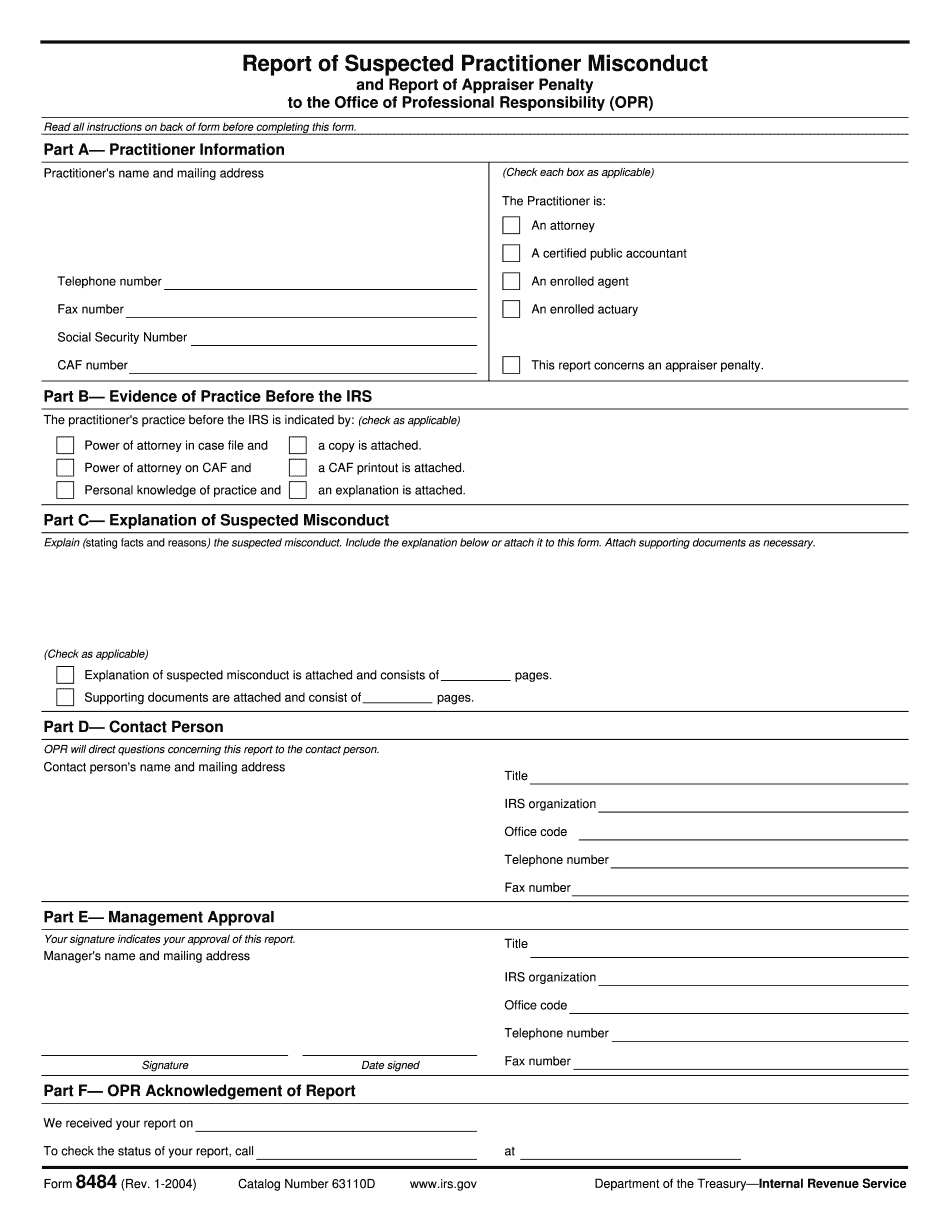
8484 Form: What You Should Know
Do You Have to File a Form 8283? — IRS Tax Tips & Videos If You Must File Form 8283, You Must Do It Before The 25th of Each Month If You Have Made a Donation in the Last 60 Days, File the Form 8283 on or before the 15th of the following month. You will need to file the Form 8283 within 45 days after your donation was made. If you do not have to file a Form 8283, you must complete an appropriate Form 941, Business Entity Income Tax Return if You Have Donated Charitable Contributions. If you made donations of property more than 5,000 but less than 50,000 per year, you must use Form 3921. Do Not Complete Form 8283 With Items that You Can Deduct from Your Tax Bill for 2018. Do Not Complete Forms 8283 (Rev. March 2018) and 8029 on Your Taxes Without First Applying to the IRS You Can Deduct from Your Tax Bill the Contribution Deduction. Form 8283, Nondeductible Charitable Contributions — IRS Do Not File Form 8283 Without a Publication Notice If you contributed 5,000 or less in this calendar year, you can deduct your donations as a deduction in the year you make them. You can make contributions from January 1 to April 30. Be sure to file Form 8283 as soon as possible after the year in which you make your donation, even if you must wait for your tax return for that year. You must be sure to use the correct form number and the correct amounts. You may need to change your Form 8283 if the value of the property you purchased is changed. Once you determine your donation deduction, you can file your tax return on time. When you file your tax return before the 1st of the following month following your contribution, the IRS will not allow the donation deduction. The gift tax is imposed if you are unsure about the tax law before the 1st of the following month following your contribution. For more information, see IRS Publication 961 (Policies and Procedures — Public Notice). Section C.
Online solutions help you to manage your record administration along with raise the efficiency of the workflows. Stick to the fast guide to do Form 8484, steer clear of blunders along with furnish it in a timely manner:
How to complete any Form 8484 online: - On the site with all the document, click on Begin immediately along with complete for the editor.
- Use your indications to submit established track record areas.
- Add your own info and speak to data.
- Make sure that you enter correct details and numbers throughout suitable areas.
- Very carefully confirm the content of the form as well as grammar along with punctuational.
- Navigate to Support area when you have questions or perhaps handle our assistance team.
- Place an electronic digital unique in your Form 8484 by using Sign Device.
- After the form is fully gone, media Completed.
- Deliver the particular prepared document by way of electronic mail or facsimile, art print it out or perhaps reduce the gadget.
PDF editor permits you to help make changes to your Form 8484 from the internet connected gadget, personalize it based on your requirements, indicator this in electronic format and also disperse differently.
Video instructions and help with filling out and completing Form 8484